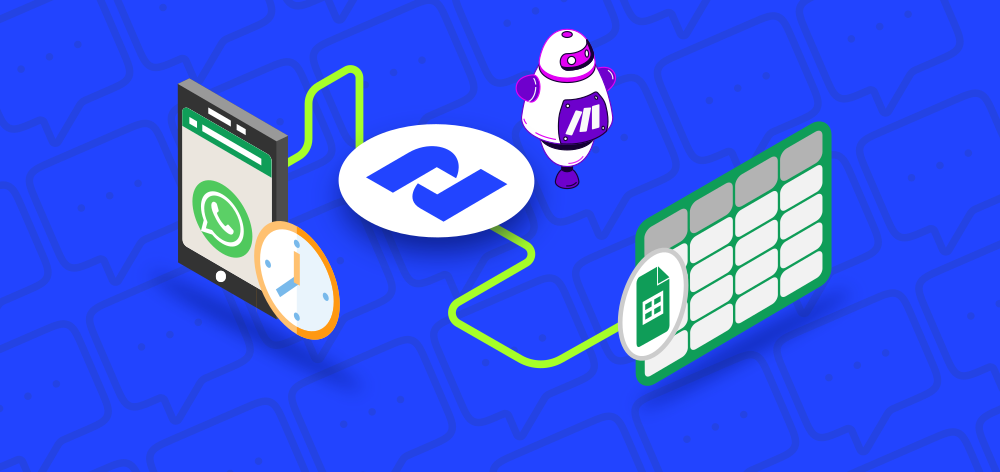
After-Hours Lead Capture: Automate WhatsApp with Google Sheets Integration
Capture after-hours WhatsApp leads 24/7. Learn how to automate your workflow with Google Sheets, 2Chat, and Make integration. Stop losing sales when offline!

Imagine never missing an opportunity to engage with a potential customer, even when your business is closed for the day. In today's competitive landscape, capturing leads efficiently is vital for sustained growth. This is where WhatsApp automation steps in, offering a powerful solution to keep your lead generation active around the clock. You can automate your lead capture processes seamlessly by leveraging tools like WhatsApp, Make, Google Sheets, and 2Chat. In this blog post, we'll delve into how this combination can help you capture leads effortlessly after hours, ensuring your business remains connected and always responsive.
You will need this:
- 2Chat Account with a phone number connected
- Copy this Google Sheets Template
- Make account to copy this template
This guide (and the accompanying video) shows you exactly how to set up an automation using WhatsApp, Google Sheets, 2Chat, and Make (formerly Integromat) to capture those valuable after-hours leads effortlessly.
Step 1: Prepare Your Google Sheet
- First, grab the Google Sheet template designed for this automation.
- Go to File > Make a copy in Google Sheets to save your editable version to your Google Drive. This sheet has columns ready for Name, Message, PhoneNumber, Email, and DateTime.
Step 2: Set Up the Make Scenario
- Use the provided Make scenario template. This template already has the basic structure: a Webhook module to receive data and a Google Sheets module to add a row.
Create a Webhook: In the Make scenario setup, create a new webhook. Make will generate a unique URL. Copy this URL – you'll need it in 2Chat.
Connect Google Sheets: Configure the Google Sheets module. Connect your Google account, select "Search by path" for the Search Method, choose your Drive, and then search for and select the Google Sheet you copied in Step 1. Ensure the correct sheet within the spreadsheet (e.g., "Lead capture") is selected.
Save and Edit: Save the initial setup. You might need to click "Edit scenario" to easily access the webhook URL again later.
Step 3: Create the 2Chat Flow
- Log in to your 2Chat account and navigate to Flows.
- Click + New Flow and select the "Business Hours" template. This provides a starting point with a condition to check if a message arrives inside or outside your set hours.
Configure Trigger & Hours:
- Select your WhatsApp Business Channel as the Source in the initial trigger node.
- Click the Condition node. Adjust the days and times to match your actual business hours. The flow branch we'll build on triggers when the condition is True (i.e., outside business hours).
Edit Initial Message: Modify the first message sent on the "outside hours" path. Let the customer know you're currently unavailable but will collect their details. Example: "Hello, thank you for your message. Our business hours are [Your Hours]. Please give us some information, and we will get in touch with you as soon as possible."
Step 4: Capture Lead Information in 2Chat
- Add "Message and Wait for Reply" components to your 2Chat flow after the initial "outside hours" message.
- Ask for Name: Add a node asking, "Please tell us your name." Save the reply as a Text custom field named name.
- Ask for Email: Add another node asking, "What's your email?". Save the reply as an Email custom field named email (using the Email type helps validate the format).
- Ask for Inquiry: Add a third node asking, "How can we help you?". Save the reply as a Text custom field named message.
Step 5: Send Data to Google Sheets (via Make)
- Add an "HTTP Request" component after the last "Message and Wait for Reply" node.
Configure the Request:
- Request URL: Paste the Make webhook URL you copied in Step 2.
- Method: Ensure this is set to POST.
Body: Go to the Body tab. You need to send the data in JSON format. Use the following structure, replacing the placeholders with the actual dynamic variables from 2Chat (use the {} variable picker):
{
    "Name": "NAME",
    "Message": "MESSAGE",
    "PhoneNumber": "PHONE_NUMBER",
    "email": "EMAIL",
    "DateTime": ""
}
Step 6: Add a Confirmation Message (Recommended)
- To improve the user experience, add a final "Send WhatsApp Message" component connected to the Successful output of the HTTP Request node.
- Compose a message confirming receipt: "Thank you, we've received your information. One of our agents will contact you as soon as possible."
Step 7: Save, Publish, and Test!
- Click Save Changes in your 2Chat flow.
- Click the dropdown next to Draft Flow and select Publish.
- Send a message to your WhatsApp number outside your configured business hours. Follow the prompts from your automation.
- Check your Google Sheet – the new lead information should appear instantly!
Why This Automation Rocks:
- Never Lose a Lead: Capture inquiries 24/7, even while you sleep.
- Improve Customer Experience: Acknowledge customers immediately, even off-hours.
- Increase Efficiency: Data is automatically organized in your Google Sheet, ready for follow-up.
- Boost Sales: More captured leads mean more opportunities to convert.
Stop letting valuable after-hours leads slip away. Implement this simple automation today and ensure your business is always ready to capture the next opportunity.
Ready to get started? Visit 2Chat.co to learn more!