How to send WhatsApp messages from Google Sheets
Sending WhatsApp messages from Google Sheets automatically

Google Sheets and spreadsheets in general are just such great tools that adding functionality to them is rarely a bad idea. This tutorial is precisely about that premise and this time we're coming up with something we have heard a lot before: sending WhatsApp messages from a Google spreadsheet.
We also have a Google Sheets plugin.
Requisites
- You will need a WhatsApp phone number 😛.
- Also, a Gmail or Google Suite account to use Google Sheets.
- Create a 2Chat account and connect your WhatsApp number to it. The process is very straightforward and takes only a few seconds from start to finish. You can learn how to connect your number on this tutorial.
Building the skeleton of the sheet
Google Sheets uses Google Apps Script as its main programming language for automation, much like Microsoft Excel uses VBA for theirs. This is important because you will need to copy & paste an Apps Script code into your sheet to enable the automation to work through each row of the sheet and send your messages based on your instructions.
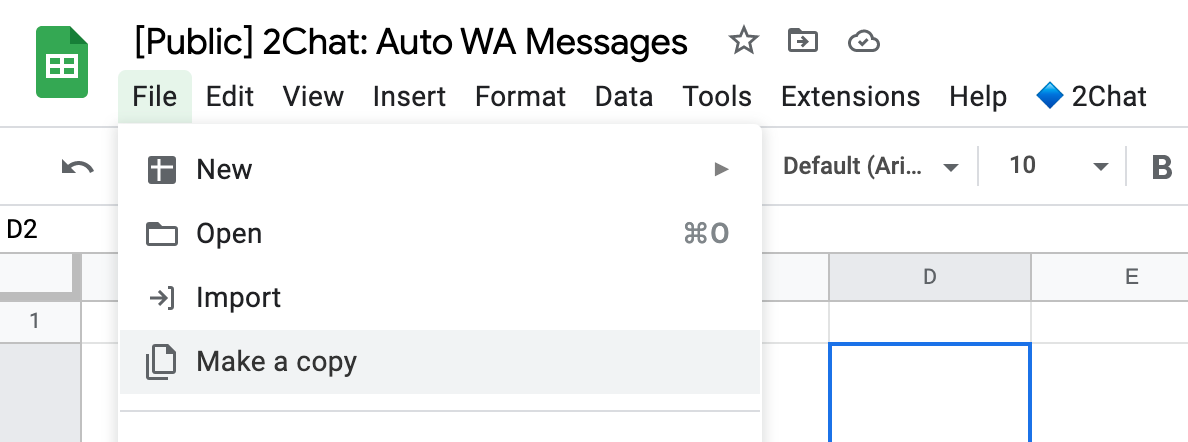
Our recommended approach is to just clone the example sheet we have created and do your modifications there. You can find the example sheet on this link.
If you are a developer, you can check the code here.
Configuration
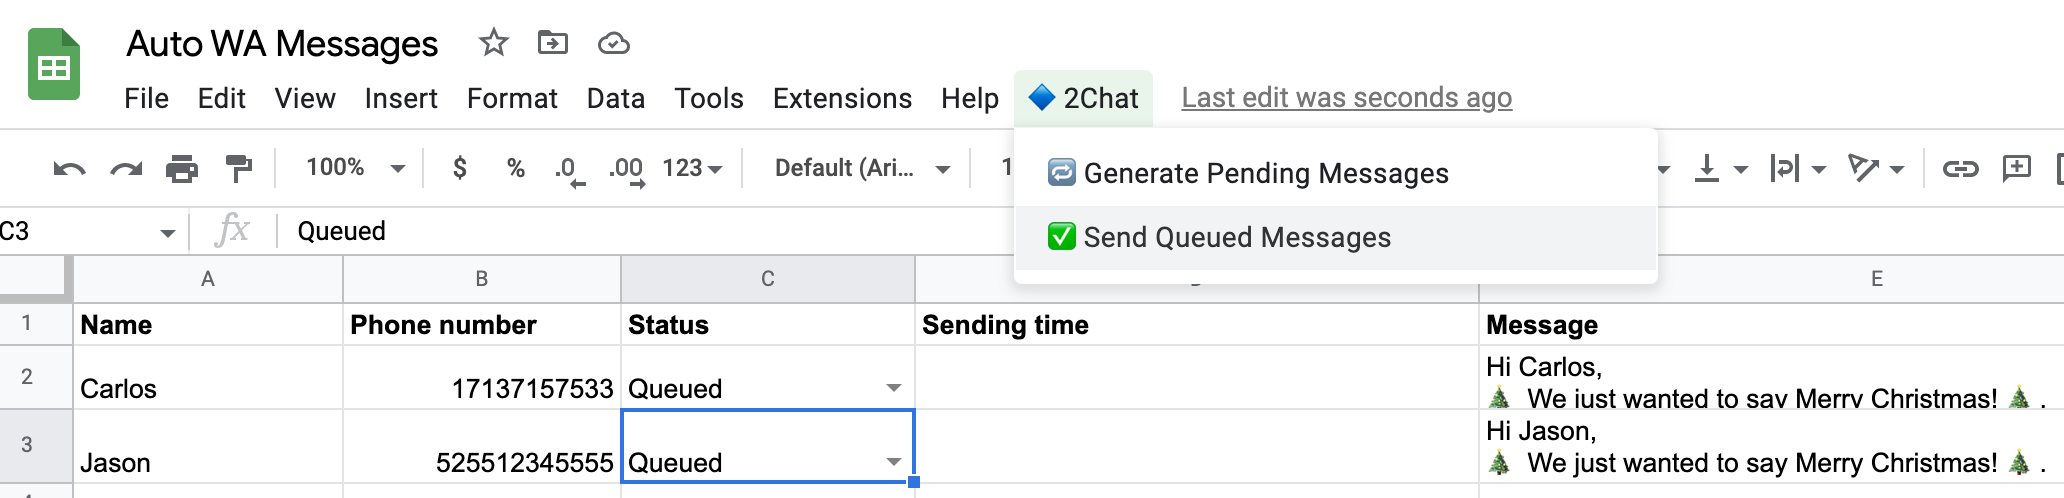
As soon as the sheet is opened, it will run the script that loads 2Chat onto it. You can make sure it did by checking if the 2Chat menu appears in the top bar.
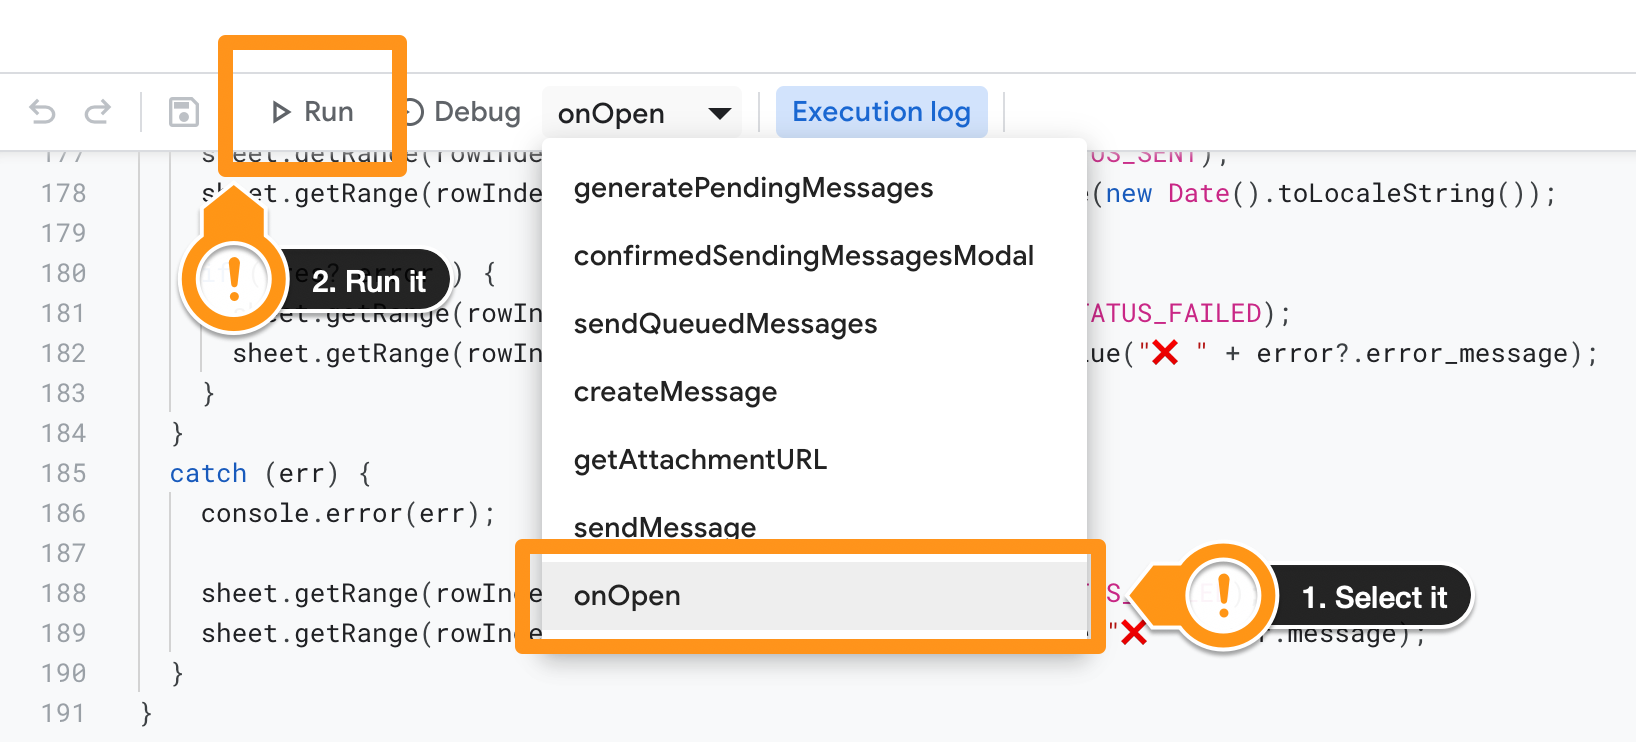
If the menu doesn't show up, you can force it by running the onOpen function inside the Apps Script editor.

Below you will find 2 worksheets. The one named Params is used for the basic configuration of the message, including its text and media attachments such as images or documents.
The Message Attachment URL can be left blank if you don't want to send any media in your message, or with a publicly accessible URL pointing to the media (audio, video, document) you want us to send as an attachment.
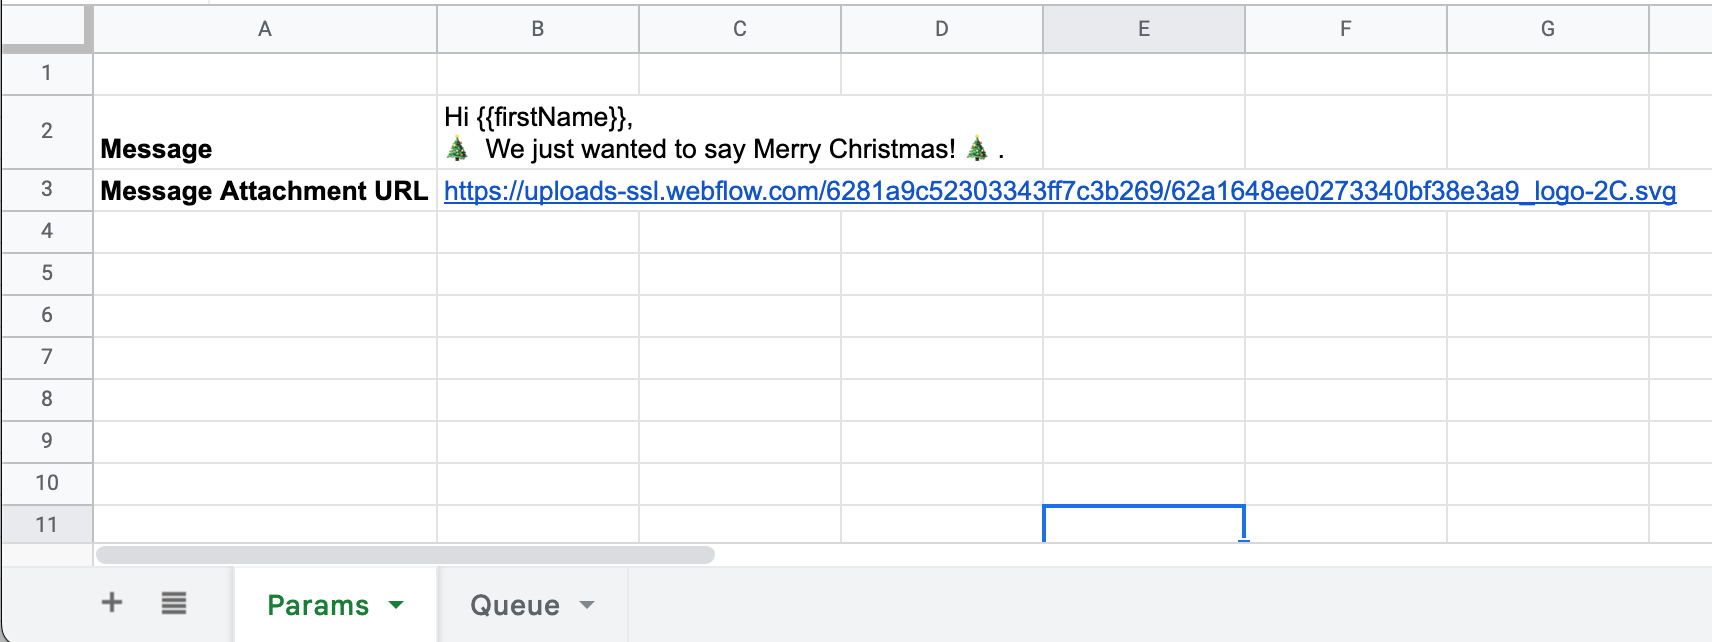
The second one named Queue contains the recipients of the message you configured in the previous sheet. Each row constitutes a single recipient. The sheet won't ensure you don't have duplicates so make sure you take care of that.
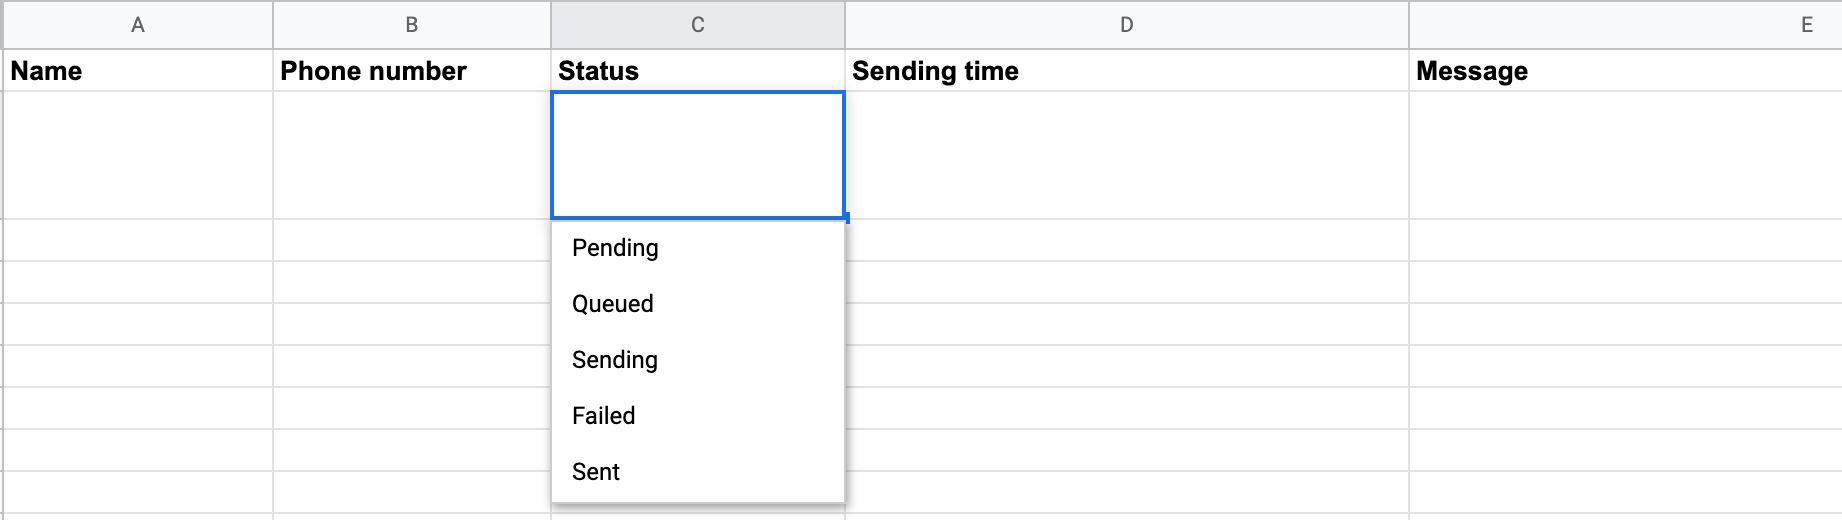
Name: the first name of the person to whom the message is intended. You can leave it blank if the message doesn't need to include a name.Phone number: the WhatsApp phone number to which the message will be sent. Make sure you use an international format (with the "+" sign in front) and that it is connected to 2Chat before running your tests.Status: it indicates what's going on with the row in question. The only 2 statuses you need to consider arependingandqueued. More on this later.Sending time: the time the message was processed by 2Chat.Message: the content of the message that will be sent.
API Configuration
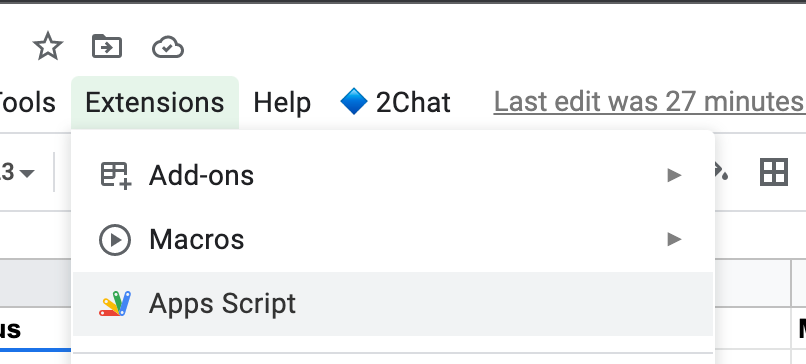
The final piece of configuration has to do with setting up the API key to let Google Sheets invoke 2Chat services. For that, just click on the Apps Script menu option to open the sheet's code editor.
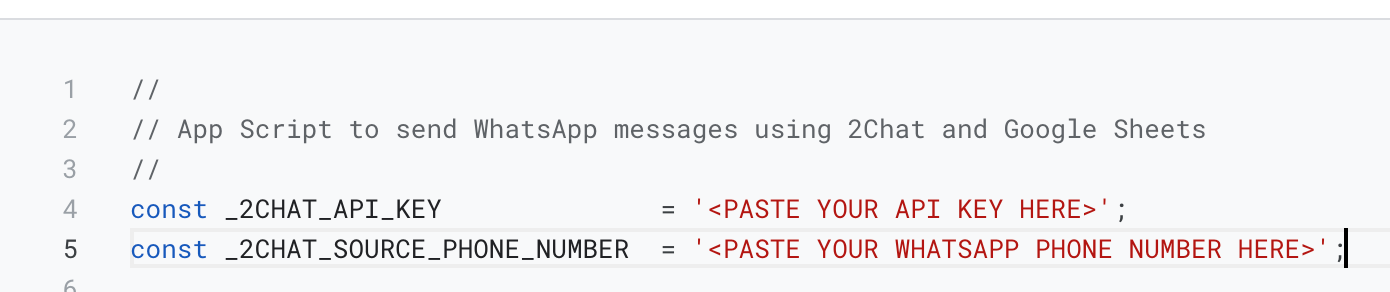
Once opened, you will need to copy and paste your 2Chat API key and the sending WhatsApp number you configured on your 2Chat account.
You can find information on how to obtain your 2Chat API key in this article.
Save the changes you made and reload the Google Sheet to apply the latest changes.
Sending a few messages
You can now start adding some rows to the Queue sheet, and putting each new row in pending status to be able to generate the messages based on the template you configured in the Params sheet.
Only rows that have their status as pending will be processed to generate the message dynamically, and also only those marked as queued will be sent by the script. These two caveats are the only things you need to consider when it comes to setting the status of each row.
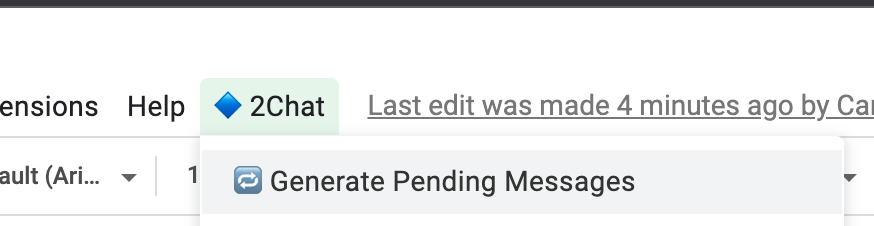
Click on 2Chat > Generate Pending Messages once you are done adding the rows.
The final step is to send those messages to each of the numbers you added. Just remember that 2Chat won't process any of them unless they are in the queued state, so make sure you are flagging the ones you want to process immediately as queued.